
Building a strong, well-defined back requires consistent training and the right tools. Pull-up resistance bands have emerged as one of the most effective and accessible solutions for developing back strength, regardless of your current fitness level. These versatile training aids bridge the gap between complete beginners who struggle with bodyweight pull-ups and experienced athletes looking to add variety to their routines.
Choosing the Right Pull-Up Assist Band for Your Strength Level
Selecting the appropriate resistance band is crucial for effective training and steady progression. Pull-up assist bands typically come in different resistance levels, usually color-coded to indicate their assistance strength. Understanding these levels will help you make the right choice for your current abilities. Light resistance bands for pull-ups provide minimal assistance, typically supporting 10–35 pounds of your body weight. These are ideal for individuals who can already perform a few unassisted pull-ups but want to increase their repetition count or work on form refinement. Athletes recovering from injury or looking to add volume to their training also benefit from light resistance bands.
Medium resistance bands offer moderate assistance, usually supporting 35–65 pounds. This category works well for intermediate trainees who can perform one or two unassisted pull-ups but struggle to complete full sets. These bands help bridge the gap between assisted and unassisted training while maintaining proper form throughout each repetition.
Heavy resistance bands provide substantial assistance, supporting 65-120 pounds or more. These are perfect for complete beginners who cannot yet perform an unassisted pull-up. The significant assistance allows proper movement pattern learning while gradually building the necessary strength in the latissimus dorsi, rhomboids, and supporting muscles.
When selecting your band, consider your current pull-up ability honestly. If you cannot perform any unassisted pull-ups, start with a heavy resistance band. Those who can complete 1–3 repetitions should choose a medium band, while individuals capable of 4-8 clean pull-ups can benefit from a light resistance option. Quality matters significantly when choosing resistance bands for pull-ups. Look for bands made from natural latex or high-grade synthetic materials that can withstand repeated stretching without snapping. The band should feel smooth and even, without thin spots or irregularities that could indicate weak points.
Setting Up Your Band Safely on a Pull-Up Bar
Proper setup ensures both safety and effectiveness during your training sessions. The method you use to attach your resistance band to the pull-up bar can significantly impact your workout quality and injury risk.
Begin by inspecting your pull-up bar for any sharp edges, rough surfaces, or structural issues that could damage the band or cause injury. The bar should be securely mounted and capable of supporting your full body weight plus the additional stress from the resistance band.
The most common and effective setup method involves creating a larks head knot. Thread one end of the band through the other end, creating a secure loop around the pull-up bar. Pull the knot tight and ensure the band sits evenly on the bar without twisting. This method distributes the load evenly and prevents the band from slipping during use.
Position the band in the center of the pull-up bar to maintain balance during your exercises. If the band slides to one side, it can create uneven assistance and potentially cause you to lose your grip or fall awkwardly.
Before beginning your workout, test the setup with gentle stretching. Pull down on the band to ensure it holds securely and check for any signs of wear or weakness. The band should stretch smoothly without any sudden changes in resistance or concerning sounds.
Consider the height of your pull-up bar when setting up. The band should have enough slack when you are standing beneath the bar but should not touch the ground when fully stretched. This prevents the band from losing tension at the bottom of the movement and ensures consistent assistance throughout the exercise.
Assisted Pull-Ups: Step-by-Step for Beginners
Mastering the assisted pull-up with resistance bands requires attention to form and gradual progression. This fundamental movement serves as the cornerstone for all other back training exercises using bands. Start by positioning yourself beneath the pull-up bar with the resistance band properly attached. Step into the band with one foot, allowing it to support you at knee level. Some people prefer to place both feet in the band, while others find single-foot placement more comfortable. Experiment to find what works best for your body mechanics.
Grasp the pull-up bar with an overhand grip, hands positioned slightly wider than shoulder-width apart. Your arms should be fully extended, and your body should hang freely with the band providing gentle upward assistance. Engage your core muscles and maintain a slight forward lean of your torso.
Initiate the pull-up by driving your elbows down and back, focusing on squeezing your shoulder blades together. Think about pulling your chest toward the bar rather than simply lifting your chin over it. This mental cue helps ensure proper lat activation and prevents excessive arm involvement.
Continue pulling until your chin clears the bar or your chest approaches it, depending on your flexibility and strength level. Hold this top position briefly, feeling the contraction in your back muscles. The resistance band should still provide some assistance, but you should feel your muscles working throughout the entire range of motion.
Lower yourself with control, taking 2–3 seconds to return to the starting position. The eccentric or lowering portion of the movement is crucial for building strength and muscle. Resist the urge to drop quickly or allow the band to pull you down rapidly.
Focus on quality over quantity during your initial training sessions. Perform 3-5 clean repetitions with perfect form rather than struggling through 10 sloppy ones. As your strength improves, you can increase repetitions or progress to a lighter resistance band.
Band Rows and Lat Pull Variations for Muscle Growth
While assisted pull-ups form the foundation of band-based back training, incorporating rowing movements and lat pull variations creates a comprehensive program that targets all areas of your back musculature.
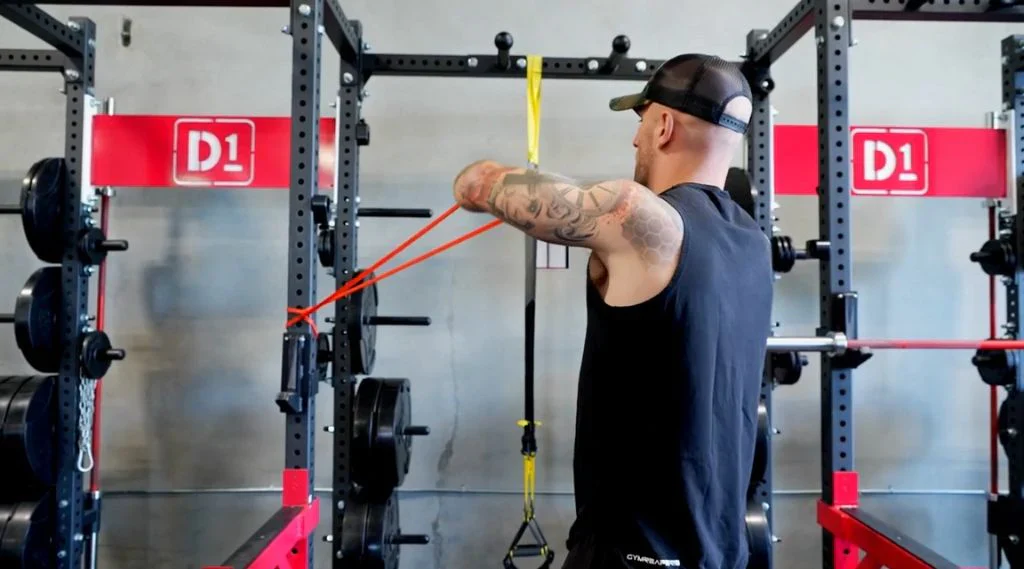
Band rows offer excellent horizontal pulling strength, targeting the rhomboids, middle trapezius, and rear deltoids. Attach your resistance band to a low anchor point or wrap it around a sturdy object at waist height. Grasp the band with both hands and step back to create tension. With your arms extended and core engaged, pull your elbows back while squeezing your shoulder blades together.
The key to effective band rows lies in maintaining proper posture throughout the movement. Keep your chest up, shoulders down, and avoid allowing your upper back to round forward. Pull the band toward your lower chest or upper abdomen, focusing on initiating the movement with your back muscles rather than your arms.
Single-arm rows provide unilateral training benefits and help address strength imbalances between sides. Anchor the band at waist height and grasp it with one hand. Step back to create tension and perform the rowing movement with one arm while stabilizing your core. This variation challenges your stability and coordination while providing targeted back development.
Lat pulldowns using resistance bands mimic the gym machine exercise while offering the benefits of variable resistance. Anchor the band overhead or use your pull-up bar setup. Grasp the band with both hands, arms extended overhead, and pull down toward your chest while keeping your elbows slightly in front of your body. This movement specifically targets the latissimus dorsi muscles.
High-to-low rows target the lower trapezius and help improve posture by strengthening often-neglected muscles. Anchor the band at a high point and pull down and back, bringing your hands toward your hips. This movement pattern helps counteract the forward head posture common in modern lifestyles.
Face pulls with resistance bands address the posterior deltoids and help balance shoulder development. Anchor the band at face height and pull toward your face, separating your hands as you pull back. Focus on keeping your elbows high and squeezing your shoulder blades together at the end of the movement.
Summary
Training your back with resistance bands for pull-ups offers an accessible, effective, and versatile approach to building strength and muscle definition. The variable resistance provided by bands creates unique training stimuli that complement traditional weight training methods while being suitable for all fitness levels. Success with band-based back training requires patience, consistency, and proper progression. Start with appropriate resistance levels for your current abilities and gradually advance as your strength improves. Focus on maintaining perfect form throughout all exercises, as quality movement patterns are more valuable than impressive repetition counts.