
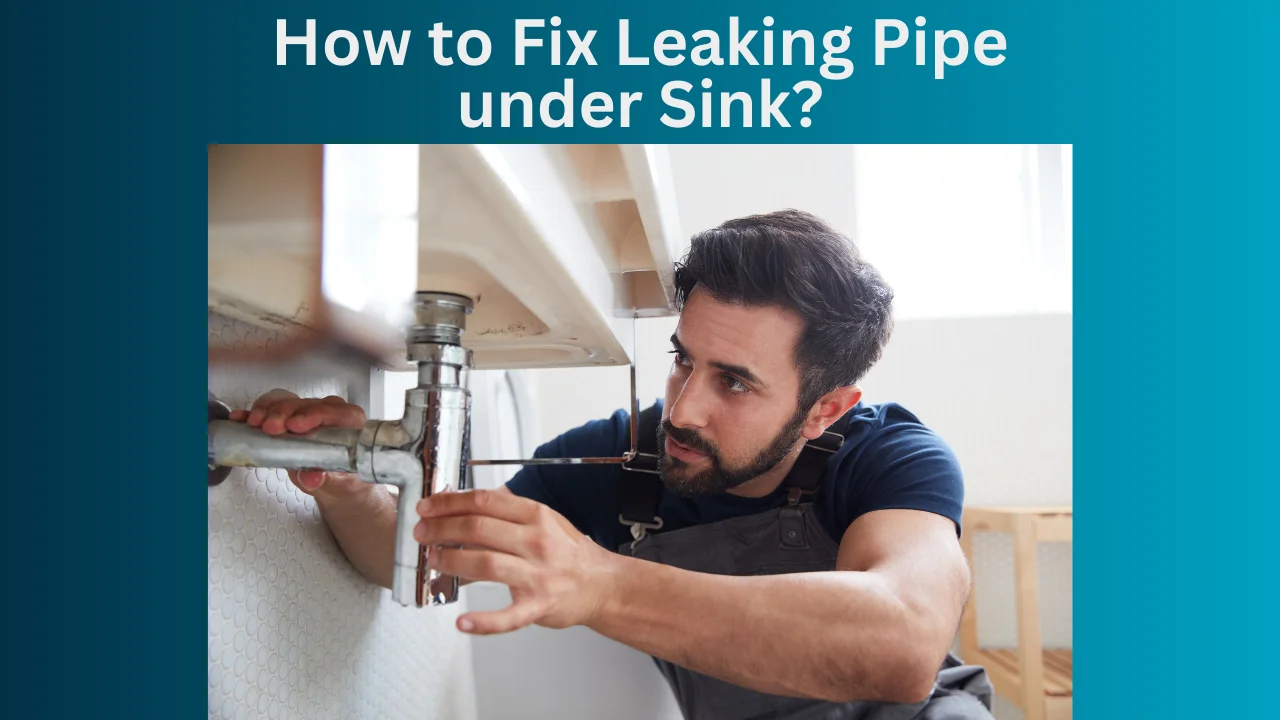
Introduction
Not addressing a leaking pipe under the sink quickly can cause water damage and disruption to daily routines. Homeowners can gain the knowledge and confidence to fix a leaking pipe under the sink on their own with the detailed, step-by-step instructions provided in this article on “How to Fix Leaking Pipe under Sink?” A speedy fix for this typical plumbing issue is possible if you follow the steps provided.
Benefit of Fixing a Leaking Pipe Under the Sink
Anyone interested in fixing things around the house or looking to save money on plumbing services can fix a leaking pipe under the sink. This guide is designed to assist anyone, from complete DIYers to those with some basic skills, in making the repair quickly and safely. If you’re not confident doing repairs on your own or are dealing with a complicated leak, it’s best to call a professional plumber.
Identifying the Source of the Leak
Finding the source of the leak is an important first step in fixing it. In order to identify the precise cause of the issue, this section walks you through a number of possible situations and their corresponding solutions.
Check Pipe Connections
Loose connections are a common source of leaks. Verify the integrity of every pipe fitting beneath the sink, including those that lead to the water supply, the drain, and, if necessary, the dishwasher. Avoid damaging the threads or fittings by carefully tightening any loose fittings with a wrench.
Inspect for Cracks and Corrosion
Find and fix any damage, cracks, or corrosion you see in the pipes. While PVC pipes can crack from physical stress or sudden temperature changes, metal pipes, especially older ones, can corrode with time. Finding the right way to fix it depends on figuring out what the problems are.
Test with Dye or Food Coloring
If you can’t seem to pinpoint the source of the leak, you can always try adding some food coloring or a non-toxic dye to some water and seeing where the color appears. It can be used to find smaller leaks that aren’t as obvious.
Use a Tissue or Paper Towel
Immediately encircle the area you suspect using a dry paper towel or tissue. Finding the source of the leak is as easy as finding a moist area on the tissue. If the leak is small and hard to see with the naked eye, this technique will work wonders.
Check Washers and Seals
Pipe fittings often have worn-out washers or seals that cause leaks. You may be able to fix the leak without resorting to more drastic measures if you give these parts a thorough inspection and replace them.
Tools and Materials Needed
If you want to fix a leak properly, you need to make sure you have the correct equipment. Everything you’ll need to finish the task is laid out here.
Basic Tools
Tools for tightening and loosening connections: wrenches and pliers.
Pipe cutter: You’ll need one if you need to replace a section of pipe.
A screwdriver is a tool that can be used to dismantle various parts.
Materials for Replacement and Sealing
Replacement Repair or replacement of pipes and fittings may be necessary due to damage.
Plumber’s Tape: Helps seal threaded joints and prevent leaks.
Sealant: A soldering kit may be required for metal pipes or an appropriate PVC cement for PVC pipes.
Protective Gear Gloves
Take care of your hands while you work.
Wear protective eyewear to protect your eyes from chemicals or debris.
Step-by-Step Repair Instructions
In order to repair the pipe, you must first determine where the leak is coming from and then gather the equipment you will need.
Turn Off the Water Supply
To make repairs safer and stop any additional leaks, turn off the water supply. Most homes have a valve under the sink or on the main water line that you can turn to do this.
Prepare the Area
Underneath the leaking area, set up a bucket to collect any remaining water. Take everything out of the cabinet that could be a danger, including cleaning supplies and household goods.
Remove the Damaged Section
The pipe will have to be cut out and replaced if any part of it is severely corroded or cracked. Make a clean cut with a pipe cutter and measure out the new section of pipe.
Install New Fittings and Seal Properly
To create a leak-proof seal, tape the threads of the pipe fittings with plumber’s tape and then screw them together. Before connecting two pieces of PVC pipe, be sure to apply PVC cement to the pipe and fitting.
Test Your Repairs
After putting everything back together, slowly turn on the water and check the repaired area for leaks. Extra tightening or adjustments might be required if leaks continue.
Troubleshooting Common Issues
Some problems may persist even after meticulous repairs. Here we’ll go over some of the most typical issues that might arise after a repair and how to fix them.
Persistent Leaks
Look over the seals and connections again if the leaks persist. Maybe more sealant needs to be applied or the screws need to be tightened.
Reduced Water Pressure
Water pressure might drop occasionally following repairs. This might happen if debris is displaced while the repair is being done and gets stuck in the aerators or valves. Once you clean these parts, the pressure should be back to normal.
Strange Noises
When air becomes trapped in pipes, it can cause noises like gurgling or banging. It should drain out after a few minutes of running water.
Enhancing Pipe Longevity and Preventative Maintenance
The key to keeping your plumbing under the sink in good shape for the long haul and avoiding costly repairs is regular preventative maintenance. To help you maintain your plumbing in excellent shape and stop leaks in their tracks, we have compiled a list of several strategies.
Regular Inspection
At least once every few months, check the plumbing under your sink. The pipes and their connections should not show any indications of corrosion, wetness, or even small drips. If these signs are identified early enough, major leaks can be prevented.
Clean P-Traps Regularly
To keep sewage gases outside of the house, there is a curved pipe called a P-trap that is located under the sink. Clogs and strain on the pipes caused by accumulation and debris can eventually cause leaks. These problems can be avoided by routinely cleaning the P-trap.
Avoid Chemical Drain Cleaners
Chemical drain cleaners may seem like a good idea at the time, but they really end up doing more damage than good, like corroding pipes. Avoid causing damage to your pipes by using enzymatic cleaners or mechanical methods such as plunging or snaking to keep your drains clear.
Insulate Pipes
Insulating your pipes is a good way to keep them from freezing and cracking in colder climates. Protecting your plumbing from dangerously high or low temperatures with foam pipe insulation is a simple and effective process.
The Most Common Errors People Make When Attempting to Repair a Sink Leak
Sometimes, if you don’t fix a leak under the sink properly, it might cause more problems. During the repair process, it is important to avoid these common mistakes.
Over-Tightening Connections
Tightening connections to the maximum possible degree to prevent leaks may seem like the obvious thing to do, but doing so can harm the threads and fittings, which can then cause cracks and holes to form. Never force a fitting; instead, tighten it snugly.
Ignoring Manufacturer’s Instructions
It is critical to adhere strictly to the manufacturer’s instructions when putting new fixtures or parts in. The goal of these rules is to prevent leaks caused by improper installation and maximize performance.
Using Mismatched Materials
It is important to use the same material (e.g., PVC for PVC or copper for copper) when replacing pipes or fittings. Due to differences in expansion rates and compatibility, using materials that aren’t compatible can result in leaks and improper fits.
Neglecting to Test Before Use
Before turning the water back on after making repairs, make sure the pipes are leak-free by running water through them. By doing so, you can ensure that no additional vulnerabilities have crept in and that all connections are safe.
FAQs
Q1: How do I know if the pipe under the sink is leaking?
Look for signs of moisture, water damage, or puddles under the sink. You might also notice a musty smell if there’s been a long-term leak.
Q2: Can I use any type of tape to seal a leaking pipe?
It’s best to use plumber’s tape, also known as Teflon tape, as it is specifically designed to seal pipe threads and prevent leaks.
Q3: How often should I check the plumbing under the sink?
It’s a good practice to check your under-sink plumbing at least twice a year for any signs of wear or leakage.
Q4: What should I do if the leak persists after I’ve tried fixing it?
If the leak continues despite your efforts, it may be time to consult a professional plumber to ensure the repair is handled correctly.
Q5: Is it necessary to turn off the water supply before repairing a leak under the sink?
Yes, always turn off the water supply to prevent further leakage and water damage while you work on the pipes.
Conclusion
A leaking pipe under the sink is a common problem, but this guide on How to Fix Leaking Pipe under Sink? will give homeowners the information they need to fix it on their own. The majority of leaks can be repaired on one’s own with the correct equipment and a cautious approach. Get in touch with a licensed plumber without delay if the issue continues or if you have any doubts about the steps involved.

Shannon Reyes is a seasoned writer with a knack for crafting engaging blogs on a variety of service industries, including plumbing, cleansing, moving, pest control, and roofing. With a keen eye for detail and a passion for helping readers navigate complex topics, Shannon brings her expertise to life through informative and accessible content.