
Plaster walls are much stronger and more aesthetically pleasing than drywall walls, and they also last much longer. Still, holes, cracks, and other imperfections can appear in plaster walls as a result of normal wear and tear. These are just natural aging processes; there’s no need to panic. You can give your plaster walls a second chance at looking like new again if you know what you’re doing. For those interested in plaster repair, whether as a hobby or a career, this article dives into the science and art of the process and provides a thorough guide.
Who Should Consider Repairing Plaster Walls?
The ability to fix plaster walls is a must-have for any homeowner, do-it-yourself, or contractor. Learning how to repair plaster is important whether you want to keep your home’s historic charm or just want to fix small flaws without paying a professional. Those interested in learning how to maintain the beauty of plaster walls and who admire their elegance will find this guide useful. For those who are up against the battle of plaster deterioration, it is an anthem that offers a glimmer of hope and doable solutions to get walls looking like new again.
Understanding Plaster Walls
Get a good understanding of plaster walls and why they need special attention before you start fixing them. Plaster, a long-lasting wall finish made of water, gypsum, and occasionally lime or sand, has a long history of use. Plaster, when applied wet, hardens into a dense form, providing greater fire and soundproofing resistance than drywall. On the other hand, its stiffness increases the likelihood of cracking and damage caused by structural movements or impacts. Consequently, fixing plaster walls calls for a sophisticated strategy that takes into account their individual make-up and aesthetic significance.
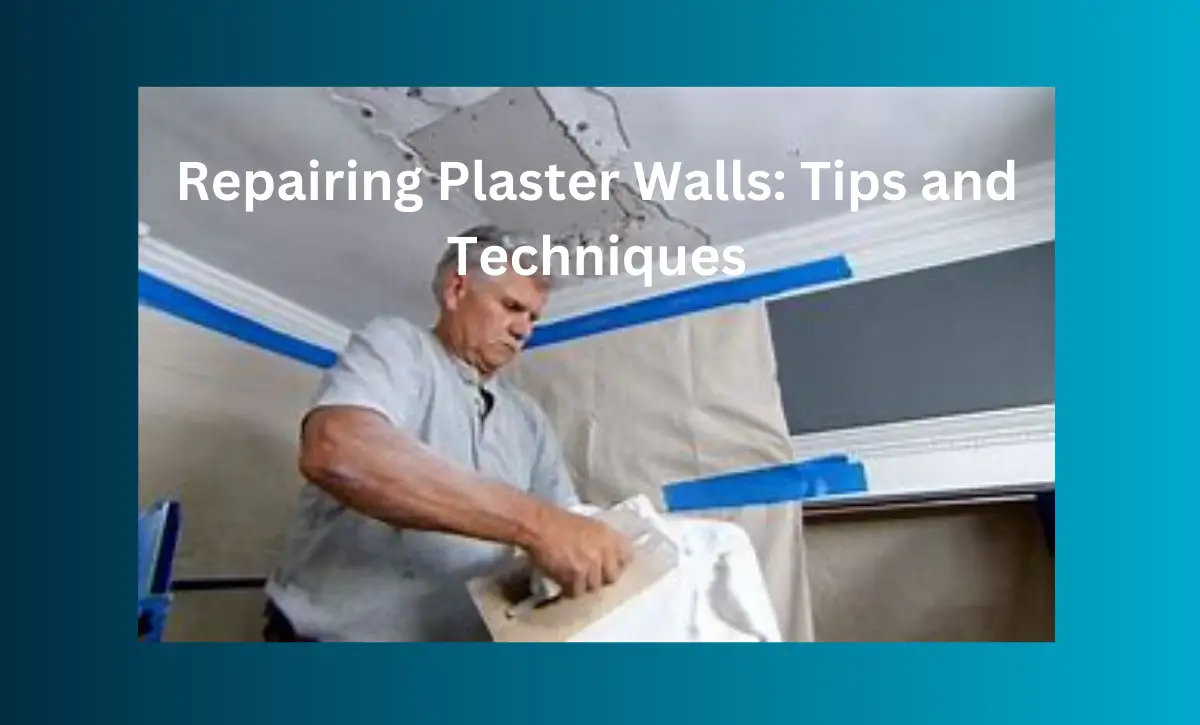
Preparation is Key
Safety First
When working with older buildings that may have concealed pipes or wires, it is imperative that all repair projects prioritize safety. In this respect, a stud finder is an essential tool for preventing hurtful or expensive blunders. Prior to beginning any repairs, it is crucial to ensure your safety and the stability of your walls.
Clear the Damage
Assessing the damage and removing it is the initial step in plaster repair. Carefully scrape away any loose or crumbling plaster with a utility knife or scraper to make a solid base for the repair materials. Since adding new materials to already-weakened plaster can cause additional damage, this step is critical for the repair’s longevity.
Clean and Prime
Debris and dust are substances that impede adhesion. After removing the damaged plaster, it is crucial to clean the area thoroughly. Most debris can be easily removed with a simple brush or vacuum, making the surface ready for priming. In addition to enhancing adhesion, priming seals the area, protecting the repair from moisture.
Patching the Hole
Small Cracks
Joint compound is a great solution for fixing tiny cracks in plaster walls. If you want to save time and effort, you can buy the compound already mixed and just use a putty knife to apply it. You can stop these fissures from becoming worse by filling and smoothing them out quickly.
Larger Holes
We need a more robust approach for larger holes. The first step is to apply a thick layer of patching plaster, making sure it sticks well to the lath that is supporting the structure. Then, to reinforce the area and lay a solid groundwork for the joint compound finish coat, apply a mesh patch. The repair will blend in with the surrounding wall seamlessly using this method.
Finishing Touches
Sanding is Essential
To achieve a smooth and level finish, it is essential to sand the area after the repair materials have dried fully. This is the last step in making sure the patched area blends in with the surrounding wall in terms of look and texture. Carefully sand the area around the plaster so as not to damage it.
Prime and Paint
In order to finish the repair process, the damaged area must be primed and painted. Priming is a must if you want your paint to go on evenly and stay put. After priming, paint the area so that it blends in with the wall color. To get a perfect match, you might have to try a few different approaches or hire a professional colorist.
Advanced Plaster Repair Techniques
Even though most plaster wall problems can be fixed with simple tools and techniques, more complex solutions may be necessary in certain cases to guarantee a long-lasting and visually beautiful repair. These methods can greatly improve the results of more intricate repairs, although they may require more steps or specific materials.
Matching Plaster Texture
Understanding Different Textures
Smooth surfaces and intricate patterns are just two examples of the many possible plaster wall textures. In order to ensure a seamless repair when working on a section of wall, it is essential to match the existing texture. Stippling, combing, or applying a texture coat with a brush, sponge, or other specialized tools are some of the techniques that may be involved in this process.
Creating a Custom Texture Match
Sometimes plaster has a special texture that is hard to replicate using regular techniques. In this case, you’ll need to be resourceful and try new things in order to find the right mix of methods and equipment to get the job done. In certain cases, incorporating sand or utilizing alternative application techniques can assist in recreating the initial texture.
Practicing Before Application
It is recommended to test on a small piece of cardboard or drywall before applying the matching texture to the repaired area. To reduce the likelihood of a noticeable repair, you can hone your technique and get a better match to the wall’s existing texture.
Addressing Structural Issues
Identifying Underlying Problems
Water damage, foundation settling, or lath problems are some of the more serious structural issues that can manifest as damaged plaster. In order to prevent further damage, it is crucial to investigate and resolve these underlying issues before moving forward with the plaster’s cosmetic repair.
Reinforcing Damaged Lath
In cases where the wooden lath behind the plaster is damaged or weakened, reinforcement may be necessary. Methods for doing so include laying down fresh lath, fastening any loose lath with nails or screws, or reinforcing the plaster with mesh tape.
Ensuring Proper Adhesion
The plaster repair won’t hold unless it clings firmly to the old plaster and the lath. To make the repair last longer and less likely to crack or separate again, use a bonding agent or an adhesion-promoting primer.
Innovative Materials and Tools
Utilizing Modern Repair Compounds
Many different plaster repair compounds, made specifically for use with older-style plaster walls, are available on the market. When compared to regular plaster, these materials typically offer better adhesion, flexibility, and usability. For those who prefer to do-it-yourself projects or when time is of the essence, they can be an invaluable tool.
Specialized Tools for Plaster Repair
Improving the effectiveness and efficiency of plaster repairs can also be achieved by investing in specialized tools. Some examples of such tools are precision scrapers, texture brushes, and drills for mixing plaster. Although not required, they can facilitate the repair process and enhance the possibility of attaining a polished appearance.
Protecting and Maintaining Repaired Plaster Walls
Regular Inspection and Maintenance
In order to keep plaster walls in good repair, it is important to inspect and maintain them regularly after repairs. In order to prevent problems from getting worse, it is important to keep an eye out for any new cracks or indications of moisture.
Climate Control
Walls made of plaster are susceptible to expansion, contraction, and cracking as a result of changes in humidity and temperature. Keeping the interior at a consistent temperature and humidity level can lengthen the life of plaster walls.
Gentle Cleaning Techniques
To clean repaired plaster walls gently, you shouldn’t use too much water or harsh chemicals. You can keep walls clean without damaging the repair by dusting them with a gentle cloth or by using a vacuum with a brush attachment.
Frequently Asked Questions
What tools do I need to repair plaster walls?
Joining compound, mesh patch, sandpaper, primer, paint, a stud finder, scraper, vacuum, and a brush or knife are all necessary tools.
Can I repair plaster walls myself, or should I hire a professional?
The correct tools and techniques allow for the DIY repair of many plaster issues. Nevertheless, a professional’s expertise may be necessary for repairs to large areas or for the preservation of historical sites.
What is the difference between joint compound and patching plaster?
Patching plaster is thicker and used to repair larger holes or damages, while joint compound is used for filling small cracks and finishing surfaces.
How long does it take for plaster repairs to dry?
It usually takes around 24 to 48 hours for materials to dry before they can be sanded and painted, though this can vary depending on factors like temperature, humidity, and the thickness of the applied materials.
Do I need to prime over the entire wall after repairing plaster?
Priming just the damaged area is usually enough, but priming the entire wall before painting will guarantee a consistent color and finish.
Conclusion
Last but not least, fixing plaster walls is an art and a science that calls for precision, persistence, and knowledge of the materials involved. Restoring plaster walls the correct way will bring back their original beauty and strength, guaranteeing that they will be a beautiful addition to your home for many years to come. The joy of giving your walls a new lease of life is unparalleled, regardless of the size of the damage you’re fixing. Seize the opportunity, and enjoy the change.

Shannon Reyes is a seasoned writer with a knack for crafting engaging blogs on a variety of service industries, including plumbing, cleansing, moving, pest control, and roofing. With a keen eye for detail and a passion for helping readers navigate complex topics, Shannon brings her expertise to life through informative and accessible content.